Ultra Red Technologies

We got our inspiration from the guys at 3DVerkstan, Erik Cederburg  http://www.youmagine.com/designs/26808

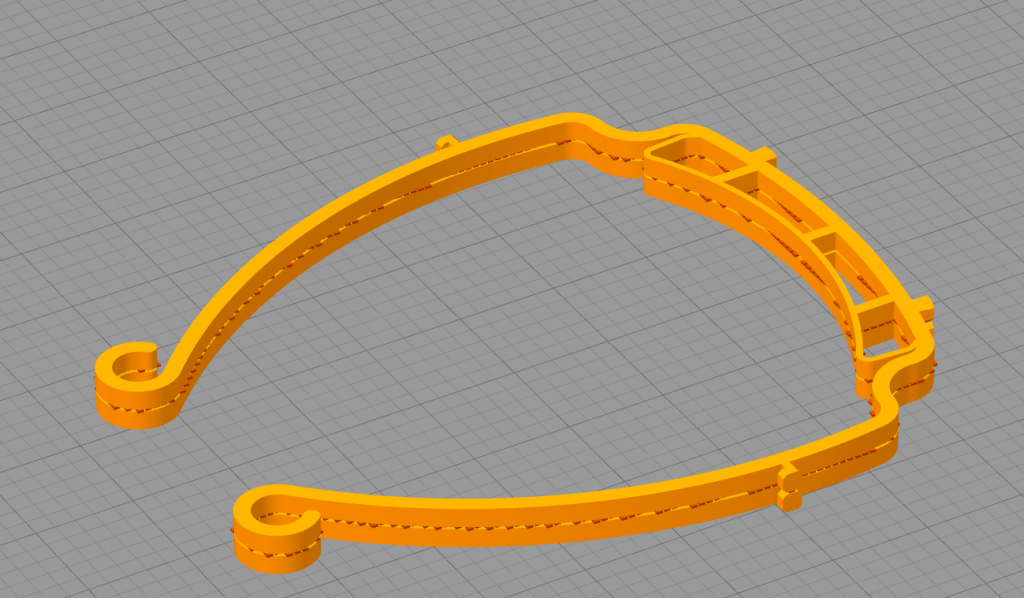
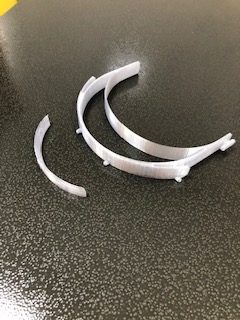
We changed the design a little to optimize for stacked printing with an FDM printer, prefereably something that can print with 2 different materials.

Stacked Pieces with supports

Place the models on top of each other. You can use Netfabb or Meshmixer to do this. Leave a gap of 0.6mm (For a 0.4 or 0.8mm Nozzle)

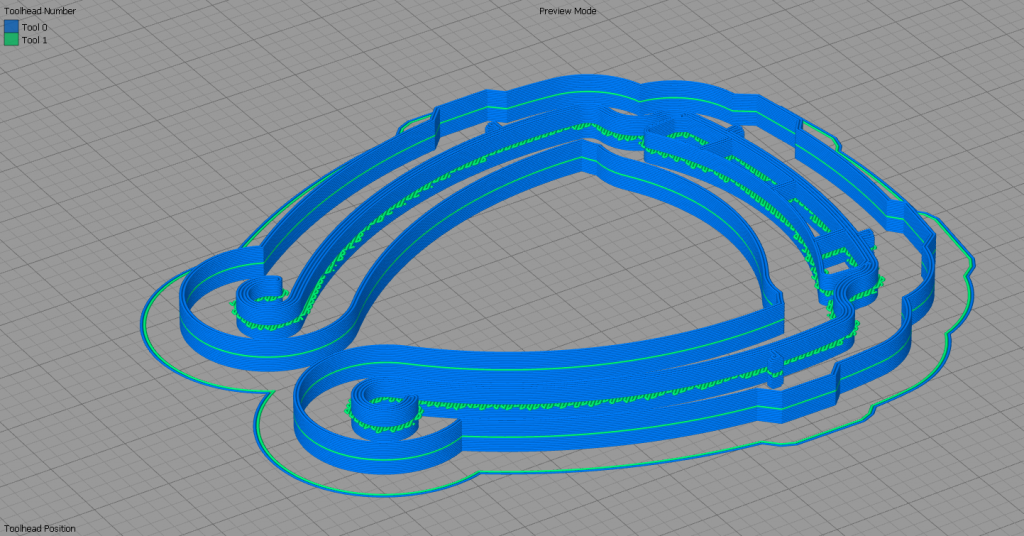
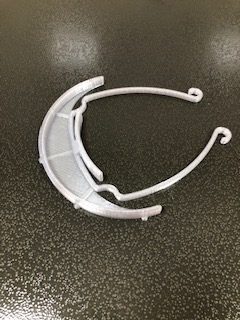
Print preview showing 2 different colours for 2 different materials. We used PETG for the main material and PLA for the support. PETG and PLA print well together but don’t bond together, making support removal much easier.

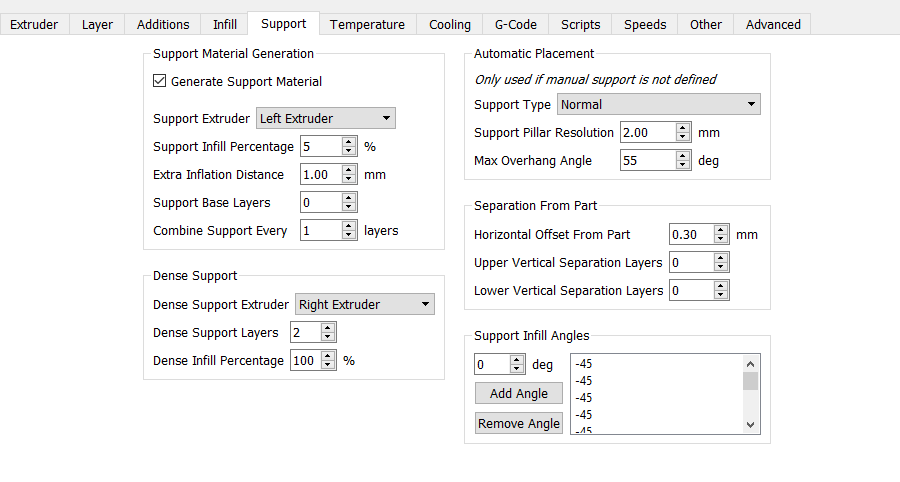
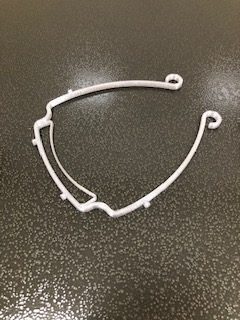
Using your preferred slicer software (we use Simplify 3D). Make sure your support extruder is printing the dense support layer, and make sure the vertical separation layers are set to zero. This will ensure a lovely print with no drooping and easy support removal.

You can find the files for printing and preparing the face shield HERE

The instructions for assembly can be found HERE

Good Luck!

Design Considerations

Option 1 - NIH Approved (DTM Design)

  • Approved by US National Health Institute.
  • Long print (2 hours).
  • Not stackable.
  • Needs a head band.
  • Needs holes to be punched in the PVC sheet.
  • Medium Complicated assembly (1 3D printed part and a Headband).

Option 2 - Prusa Design

  • Faster to print (under 1 hour).
  • Stackable.
  • Needs a head band.
  • Needs holes to be punched in the PVC sheet.
  • Medium Complicated assembly (2 3D printed parts and a Headband).

Option 3 - Thingiverse Design

  • Faster to print (under 1 hour).
  • Not Stackable.
  • No head band.
  • No holes required to be punched (sheet held by a tight fit)
  • Difficult assembly (since the sheet fit is so tight, it takes a long time to assemble.

Option 4 - Verkstan Design (chosen design)

  • Fastest to print (20 mins).
  • Stackable.
  • No head band.
  • Holes required to be punched.
  • Fastest assembly (only 2 parts)